01
-
Topic 1: Introduction to the Programming Environment and First Programs
This topic is broken down into 6 activities.
Some of the activities will be different depending on whether you are using a Physical robot or a Virtual robot. Please make sure that you read the instructions carefully and choose the correct option in these situations.
-
Activity 1: Learn about the robot and the setup
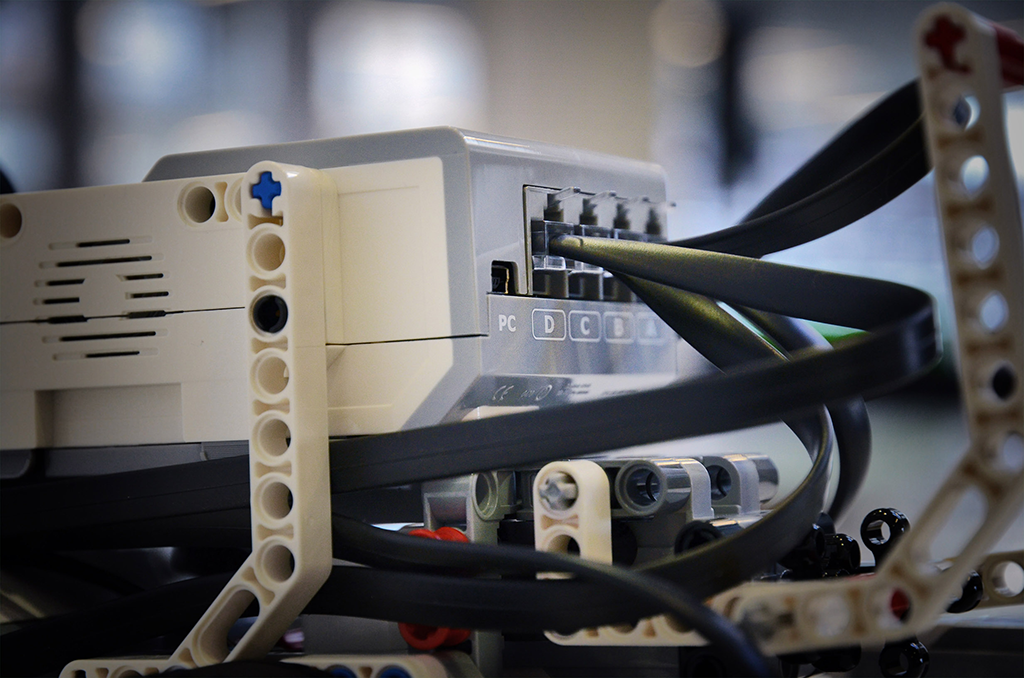
Activity 1a: Setup
- This activity takes you to the Setup part of the Carnegie Mellon resource. There are 4 parts to it. You only need to do 2 of them. Part 1: The EV3 Ports – This takes you through the connections from the central “brick” of the robot to the outside world and covers both the input and output ports. After watching the video, try the check your understanding questions. Part 2: Installing the Linux Kernel – You do NOT need to do this exercise, it only applies if you are setting up a new EV3 system. You may want to watch the video just to understand what a kernel is. Part 3: Installing the Robot C firmware – While you do NOT need to do the activity covered in the exercise as the firmware is already installed, I would like you to watch the video and then attempt the Check your Understanding questions as firmware is a key part in many electro mechanical systems (eg when you update your mobile phone or your tv or blu-ray player updates) Part 4: Navigating Menus – This exercise highlights some of the key parts of the programming interface and is useful for you to understand for later exercises. Although the Virtual Robot does not allow you to do these activities, the video gives you a useful insight into the sensors and the menus. After the video go through the Check Your Understanding questions and then the Try It exercises. If you are using the Virtual Robot, then you cannot do the exercises.
- 🔗 Setup
-
Activity 1: Learn about the robot and the setup
Activity 1b: Learn about the robot and the setup
- There are 3 parts to this activity if you are using a Physical Robot and 5 parts if you are using a Virtual Robot. All should be completed for your particular robot type. By the end of this you should be able to load and run a sample program on the robot. Please select the correct link at the bottom of the page for your Robot Type. Part 1: Opening a Sample Program
Work through all parts of this and in particular play around a bit with the help menu as the help will be useful to you all through the module. Part 2: Download and Run
Again go through all parts of this. You will be using these steps a lot over the next few weeks. Part 3: Motor and Sensor Setup
This covers how to set up the motors and sensors so the program can communicate with them. In all of our exercises we will be using the standard EV3_REMBOT so the later part of the video (from 1:28 onwards) where the configuration changes from the EV3_REMBOT are covered does not need to be done however you should still watch it as it covers the naming of input and outputs and the role of different parts of the code. In the exercises for this part, you do NOT need to do the Try It “Manual Robot configuration” exercise. Part 4: Camera Controls in Virtual Worlds (Virtual Robot Only)
This covers how to move your view in the Virtual World Part 5: Measurement Toolkit (Virtual Robot Only)
You may find these features useful for some of the exercises that you will be doing later.- 🔗 Getting Started (Physical Robot)
- 🔗 Getting Started (Virtual Robot)
- There are 3 parts to this activity if you are using a Physical Robot and 5 parts if you are using a Virtual Robot. All should be completed for your particular robot type. By the end of this you should be able to load and run a sample program on the robot. Please select the correct link at the bottom of the page for your Robot Type. Part 1: Opening a Sample Program
-
Activity 2: Basic Robot Movement
- The link jumps you to the Robot Configuration page for both Virtual and Physical robots. If you are using the Robot Virtual Worlds, this page lets you know what option to select in the Virtual World for your robot (EV3). If you are using a physical robot then you do not need to build it as it is already set up. After reading the relevant information for your robot type, just select "Next' to move to the exercises. In this activity you will be starting to use commands to control the motion of the robot. Take time to ensure that you understand the terms being used and the link between the code and the operation of the robot. There is a lot of stuff in this section so work through it and the exercises after the videos. You do NOT need to do the Mini Challenges but should watch the video on the “The Programmer and the Machine” just before them.
- 🔗 Basic Robot Movement
-
Activity 3: Moving the Arm
- This activity is still using motor control instructions but in this case the motor is moving the arm not the wheels of the robot. Note how the name of the motor (armMotor) that is assigned in the setup makes the code easier to understand. In general using relevant names for the input and output devices means that the program is much easier to follow. As in Activity 2, you do NOT need to do the Mini challenges
- 🔗 Moving the Arm
-
Activity 4: Turning
- This activity starts out by using a special command that assumes that the robot is setup as an EV3_REMBOT. The “turnRight()” command assumes that the motors are set up in a particular way. The “Try It” exercises get you to try to make turns using the more general “moveMotor()” command. This command allows you to specify each wheel motor and the power associated with it. 💁 Additional Exercise As before, you do NOT need to do the Mini challenge
- 🔗 Turning
XAdditional Exercise:
Try using the moveMotor() command for one wheel only to see the kind of turn you get. The moveMotor command was covered in Activity 3. Now try using the moveMotor() command for both wheels. Set the motors to different powers. This will work best if you make the moveMotor() command run for a fixed period of time rather than a fixed amount of rotations. Depending on the different levels of power between the two wheels you should get different curves on the swing turn. -
Activity 5: Using the Repeat Loop
- The Repeat loop is a special command in Robot C. Later in this module we will be covering the other loop commands that are available in C programming. Apart from learning the repeat command you should start to see one of the powerful features of programming, the ability to get the robot to perform multiple repetitive tasks with only a few commands by using loop structures. Complete all of the stages of the activity apart from the Mini challenge.
- 🔗 Using the Repeat Loop
-
Activity 6: Commenting
- Commenting is one area that is far more important than it first appears. By using comments you not only make your program easier for others to understand but also you will be surprised how helpful they are to yourself as well when you look back over your programs and try to remember what they do and why you have structured the code the way you have. While comments may seem trivial in programs of only a few lines, the habit is important to learn early. Larger programs are often written by teams of coders and if the code isn’t easy to understand then it takes longer to work on and there is a greater chance of mistakes occurring. Similarly the layout of your code is important as the section on “whitespace” discusses. The robot doesn’t care if your code is easy to read but for yourself and others, especially when debugging or updating code, a well laid out program is much easier to fix or update as it is clear and easy to follow. As always, do NOT do the Mini challenge.
- 🔗 Commenting
-
Summary
- There has been a lot covered in this first lab. You have gone from an introduction to the robot and the programming environment to writing and downloading your first programs and beginning to use loop structures to allow repetition of actions. Make sure you are comfortable with all of the content. The subsequent sessions will build on this work. You can look over the activities again online at any time and please ask questions if anything is unclear.